In the world of nail care, the quest for the perfect manicure often leads us to explore innovative techniques. One such intriguing question that echoes among nail enthusiasts is, “Can a UV lamp really speed up the drying process of regular nail polish?” Join us on a journey of discovery as we unravel the mysteries behind UV nail drying, exploring the science, step-by-step procedures, and addressing common misconceptions. Let’s delve into the realm of nail beauty and unveil the secrets that can transform your manicure experience.
Understanding the Basics of UV Drying:
1.1 Explanation of UV Light:
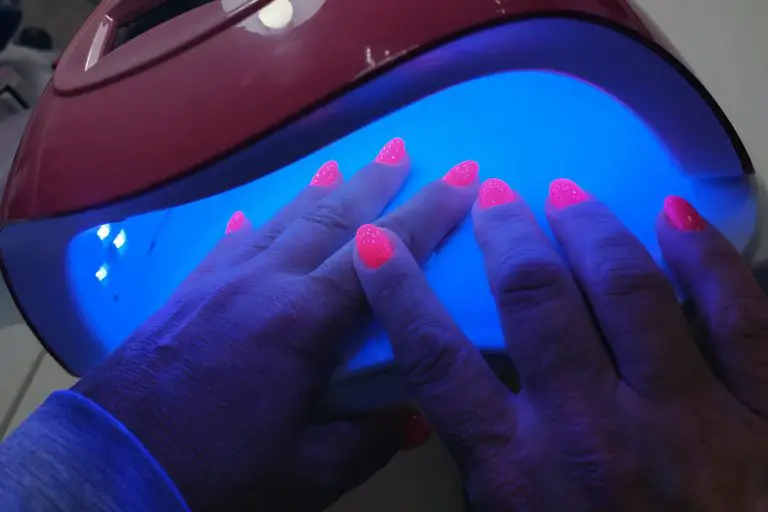
UV light, part of the electromagnetic spectrum, plays a pivotal role in the rapid drying of nail polish. When nails are exposed to UV rays emitted by the lamp, it triggers chemical reactions within the polish, expediting the curing process.
| UV Light Wavelength | Impact on Nail Polish |
|---|---|
| UVA (320-400 nm) | Initiates polymerization, leading to drying |
| UVB (280-320 nm) | Enhances color stability and finish |
| UVC (100-280 nm) | Limited impact on polish drying |
1.2 How Different Formulations Respond:
Not all nail polishes react the same way to UV exposure. Gel polishes, enriched with photoinitiators, respond more effectively to UV light, achieving a durable, glossy finish. Traditional lacquers may experience some drying benefits but may not cure as thoroughly as their gel counterparts.
| Nail Polish Type | UV Drying Response |
|---|---|
| Gel Polish | Efficient and thorough curing |
| Traditional Lacquer | Moderate drying, may require longer exposure |
Understanding these fundamental aspects is key to harnessing the full potential of UV lamps for drying regular nail polish.
The Science Behind Faster Drying:
2.1 Breakdown of Chemical Reactions Accelerated by UV Light:
UV light initiates photopolymerization, a process where the molecules in the nail polish undergo rapid cross-linking. This cross-linking forms a hardened and durable surface, reducing drying time significantly. The key players in this reaction are photoinitiators, which absorb UV energy, kickstarting the polymerization process.
| Stage of Reaction | Description |
|---|---|
| Absorption | Photoinitiators absorb UV energy |
| Initiation | Generation of free radicals |
| Propagation | Rapid polymer chain formation |
| Termination | Solidification of the polymer network |
2.2 Comparing Drying Times:
The efficiency of UV drying becomes evident when comparing drying times with and without UV exposure. Traditional drying methods rely on evaporation, a slower process compared to the rapid polymerization facilitated by UV light.
| Drying Method | Time Required |
|---|---|
| Air Drying | Variable, often hours |
| UV Drying | Significantly reduced, minutes |
Understanding these chemical processes and time differentials emphasizes the effectiveness of UV lamps in expediting the drying of regular nail polish.
Step-by-Step Guide to Using a UV Lamp for Regular Nail Polish:
3.1 Preparation Steps Before Applying Regular Nail Polish:
3.1.1 Nail Surface Preparation:
Before applying regular nail polish, ensure your nails are clean, dry, and free of any previous polish. Use a gentle nail polish remover to eliminate any oils or residues.
3.1.2 Base Coat Application:
Apply a thin, even layer of a quality base coat. This not only enhances adhesion but also creates a smooth surface for the regular nail polish application.
3.1.3 Selection of Regular Nail Polish:
Choose a high-quality regular nail polish. Gel-like formulations may offer better results with UV drying. Ensure the polish is well-shaken for a consistent texture.
3.2 Proper Application Techniques to Maximize UV Drying Effectiveness:
3.2.1 Thin and Even Layers:
Apply regular nail polish in thin, even layers. Thick layers may hinder proper UV light penetration, affecting the drying process.
3.2.2 Proper Curing Time:
Follow the recommended curing time for the specific regular nail polish used. Overexposure may lead to uneven drying or, conversely, underexposure may result in insufficient curing.
3.2.3 Final Top Coat Application:
Once the regular nail polish has dried under the UV lamp, apply a top coat to seal the color and add a protective layer. This enhances the longevity of the manicure.
By following these meticulous steps, users can optimize the use of a UV lamp for regular nail polish, ensuring a flawless and efficiently dried manicure.
Common Misconceptions and FAQs:
4.1 Addressing Myths About UV Lamps and Regular Nail Polish:
4.1.1 Myth: UV Lamps Damage Natural Nails:
Misconception: Some believe that prolonged exposure to UV lamps harms natural nails.
Clarification: When used correctly, UV lamps do not damage natural nails. The exposure time during manicure sessions is minimal and generally safe.
4.1.2 Myth: UV Lamps Cause Skin Cancer:
Misconception: Concerns about UV lamps contributing to skin cancer have circulated.
Clarification: UV lamps used for manicures emit low levels of UV radiation, posing negligible risk for skin cancer when used as directed.
4.2 Answering Frequently Asked Questions Regarding the Drying Process:
4.2.1 FAQ: Can UV Lamps Dry Regular Nail Polish?
Answer: Yes, UV lamps can expedite the drying process of regular nail polish by initiating photopolymerization, creating a durable finish.
4.2.2 FAQ: How Long Should I Cure Regular Nail Polish Under a UV Lamp?
Answer: Curing times vary but typically range from 30 seconds to 2 minutes per coat, depending on the polish brand and formulation.
4.2.3 FAQ: Is UV Drying Safe for Sensitive Skin?
Answer: UV lamp exposure during manicures is generally safe for sensitive skin. Applying sunscreen or wearing UV-blocking gloves can provide additional protection.
By dispelling myths and addressing common questions, users can make informed decisions about using UV lamps for regular nail polish, ensuring a safe and effective manicure experience.
Tips for Long-Lasting Manicures with UV Dried Regular Nail Polish:
5.1 Post-Application Care to Enhance the Durability of the Manicure:
5.1.1 Avoiding Water Exposure:
After application: Refrain from immersing hands in water for at least two hours. Water exposure immediately after UV drying can compromise the polish’s longevity.
5.1.2 Moisturizing Cuticles:
Daily routine: Apply cuticle oil regularly to keep the nail bed and surrounding skin hydrated. Well-moisturized cuticles contribute to a longer-lasting manicure.
5.1.3 Protecting Nails During Chores:
Engaging in household tasks: Wear gloves while performing chores to prevent unnecessary stress on the manicure and reduce the risk of chipping.
5.2 Choosing the Right Top Coat and Maintenance Routine:
5.2.1 Selecting a High-Quality Top Coat:
During application: Opt for a UV-compatible top coat designed for regular nail polish. This additional layer adds shine and acts as a protective barrier.
5.2.2 Regular Maintenance Checks:
Weekly routine: Inspect the manicure for signs of wear, such as chipping or peeling. Perform touch-ups as needed to maintain a polished appearance.
5.2.3 Gentle Polish Removal:
When changing colors: Use a gentle nail polish remover without harsh acetone. This preserves the integrity of the nail bed and prevents excessive drying.
By incorporating these tips into your nail care routine, you can extend the life of your UV-dried regular nail polish, ensuring a vibrant and enduring manicure.


