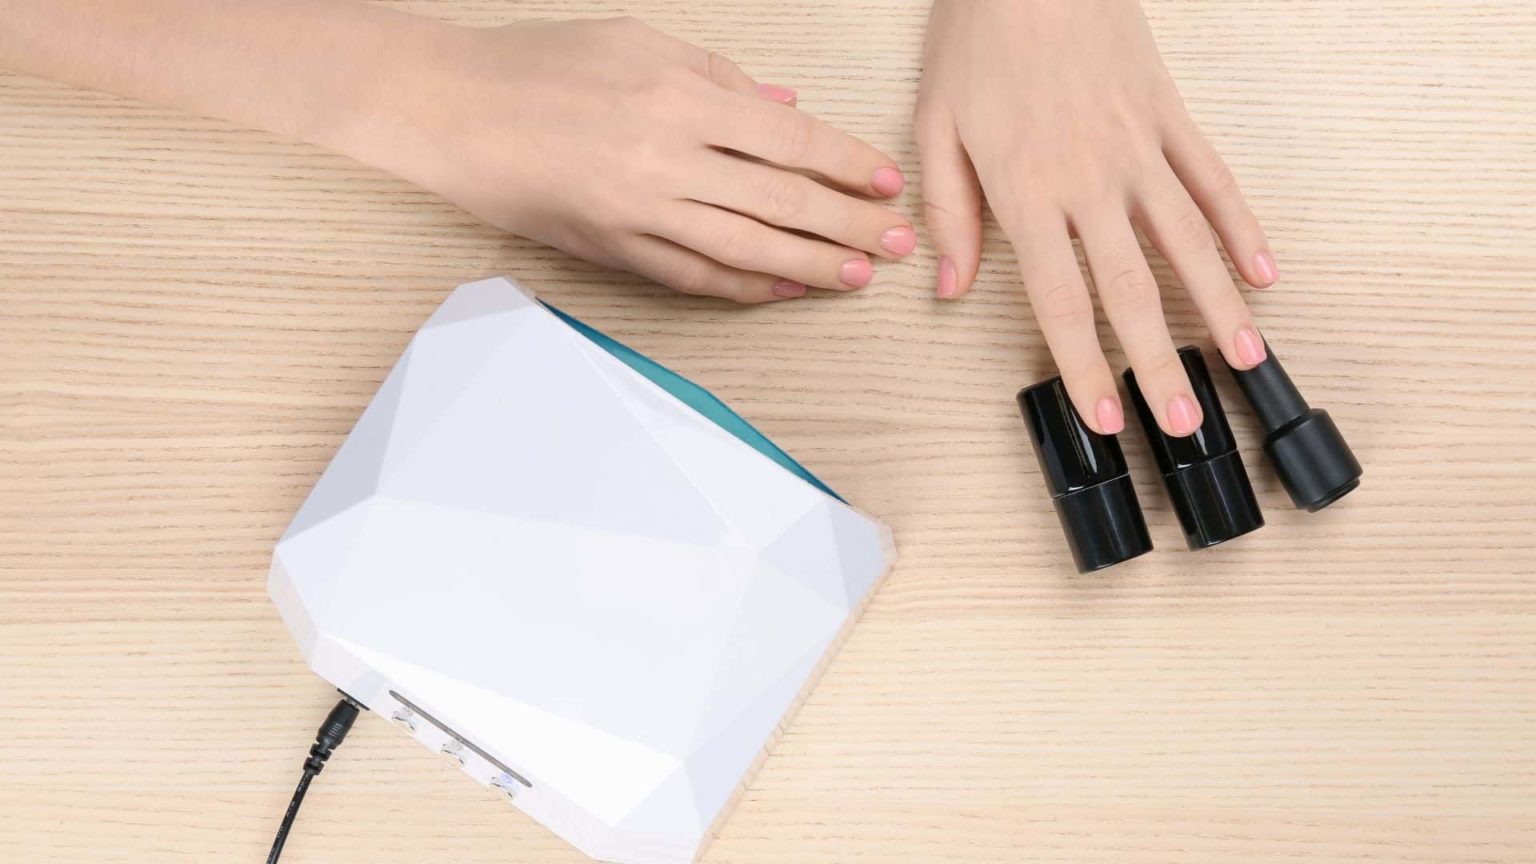
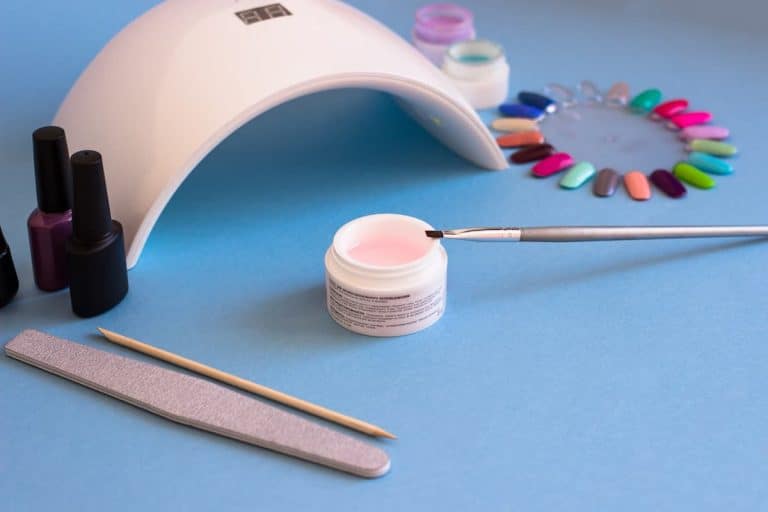
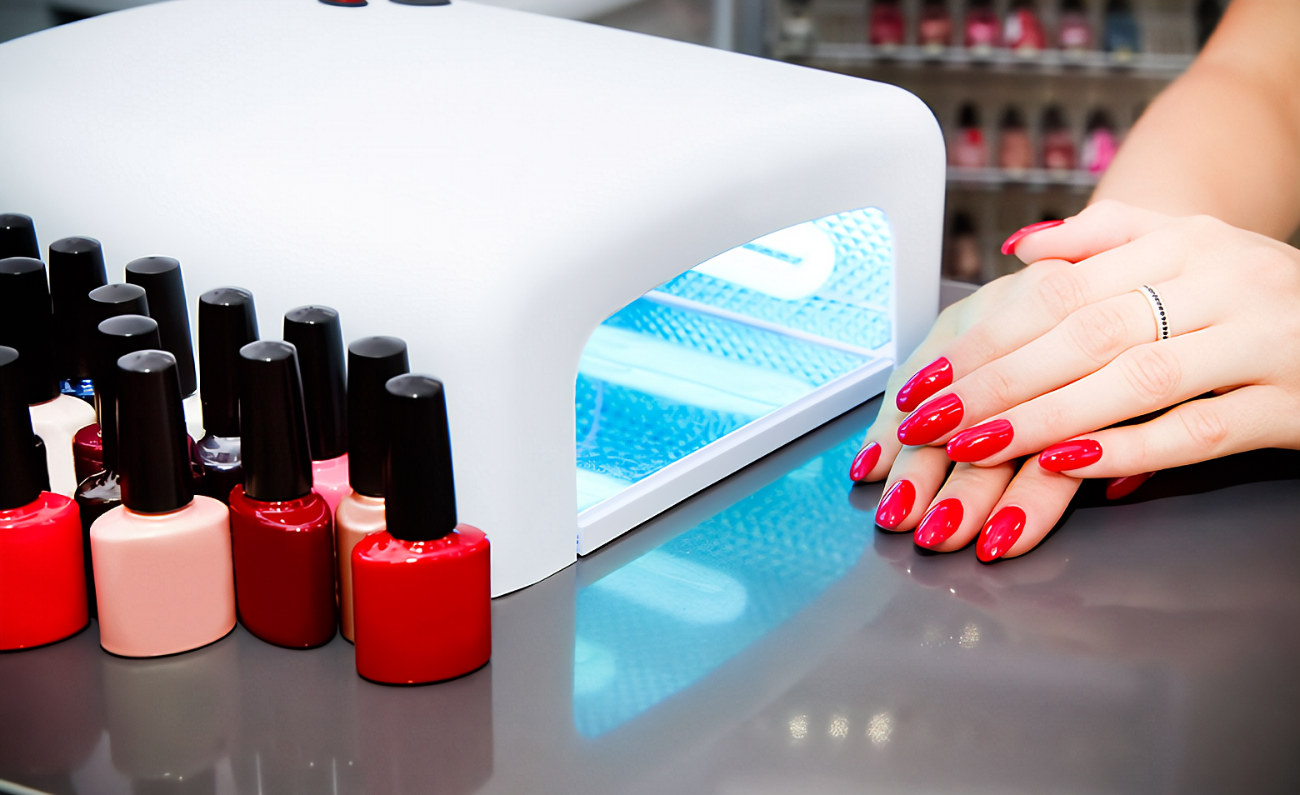
Are LED lamps effective in drying regular nail polish? This article delves into the intricate world of nail care, unraveling the mysteries behind the drying process when using LED technology. From understanding the underlying mechanisms to comparing it with UV lamps, we aim to provide a comprehensive guide. Let’s embark on a journey to explore the nuances of achieving flawlessly dried regular nail polish with the help of LED lamps.
LED Lamp Mechanism on Regular Nail Polish
Understanding how LED lamps influence the drying process of regular nail polish involves delving into the principles of light scattering and chemical reactions. Let’s break down the mechanism step by step:
- Light Scattering Principle: LED lamps emit specific wavelengths that activate photoinitiators in nail polish. These activated particles induce a scattering effect, ensuring even exposure and drying.
Key Point Explanation Photoinitiators Compounds in polish reacting to specific light wavelengths Scattering Effect Uniform distribution of light for consistent drying - Chemical Reaction Dynamics: Explore the chemical reactions between the components of the nail polish and the emitted light. This interaction is crucial for the polymerization process, resulting in a hardened and dry finish.
Key Component Role in Chemical Reaction Oligomers and Monomers Building blocks that react to form the polymer structure Polymerization Process Formation of a solid, dry surface through chemical bonding
By unraveling the intricacies of LED’s impact, you gain insights into how these mechanisms collectively contribute to the efficient drying of regular nail polish.
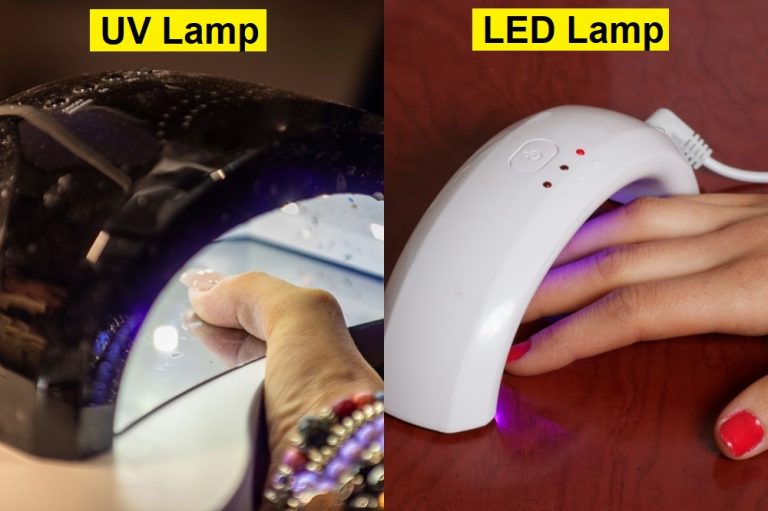
Comparing LED and UV Lamps for Drying Regular Nail Polish
Exploring the choice between LED and UV lamps for drying regular nail polish involves a comprehensive analysis of safety, speed, and overall effectiveness. Let’s delve into the nuances of each aspect:
- Safety Considerations: Assess the safety profiles of LED and UV lamps in the context of prolonged exposure. Understand the potential risks and benefits associated with each type.
Safety Aspect LED Lamp UV Lamp UV Radiation Exposure Minimal UV radiation emission Higher UV radiation emission, potentially posing risks Skin and Eye Safety Generally considered safe Caution required; potential for skin and eye irritation - Drying Speed: Examine the drying speed offered by both types of lamps. Analyze how quickly they cure regular nail polish, considering factors such as wavelength and intensity.
Drying Speed LED Lamp UV Lamp Cure Time Typically faster Varies; may require longer curing time Instant Cure Some LED lamps offer instant curing options Less common in UV lamps - Overall Effectiveness: Evaluate the overall effectiveness of LED and UV lamps in achieving a durable and aesthetically pleasing finish for regular nail polish.
Effectiveness Aspect LED Lamp UV Lamp Gloss and Finish Quality Generally comparable Subject to variations in product and technique Consistency in Results More consistent results due to controlled wavelength Results may vary based on lamp specifications and brand
By scrutinizing these aspects, you’ll be better equipped to make an informed decision on whether LED or UV lamps align with your preferences for drying regular nail polish.
Steps and Techniques for Using LED Lamp in Drying Regular Nail Polish
Mastering the art of drying regular nail polish with an LED lamp involves following specific steps and employing key techniques. Let’s guide you through the process to ensure precision and optimal results:
- Preparation: Before starting, ensure your nails are clean and polished. Remove any old polish and shape your nails. Apply a thin layer of the desired regular nail polish.
- Choosing the Right LED Lamp: Select an LED lamp compatible with regular nail polish. Check the lamp’s specifications for recommended wattage and curing time, ensuring it meets the polish manufacturer’s guidelines.
Consideration LED Lamp Wattage Compatibility Align with polish requirements Curing Time Matches the specified curing time for the polish - Application of LED Lamp: Place your nails under the LED lamp following these steps:
- Positioning: Center your nails under the lamp to ensure uniform exposure.
- Timing: Adhere to the recommended curing time for each layer of polish.
- Repeat: Apply additional layers if needed, curing each layer separately.
- Avoiding Common Mistakes: Understand and steer clear of common errors that might affect the drying process:
- Thick Layers: Apply thin layers for efficient curing.
- Incomplete Coverage: Ensure all parts of the nail receive adequate light exposure.
- Post-Curing Care: After curing, consider these post-application tips:
- Top Coat: Apply a top coat for added shine and protection.
- Moisturize: Hydrate your cuticles and nails to maintain a polished look.
By following these detailed steps and incorporating essential techniques, you’ll enhance your proficiency in using an LED lamp for drying regular nail polish, achieving salon-quality results at home.
Practical Testing of LED Lamp Drying Effects on Regular Nail Polish
To ascertain the real-world efficacy of LED lamps in drying regular nail polish, we conducted comprehensive practical tests. The results provide insights into various aspects, including time efficiency, longevity, and the overall glossiness achieved:
- Curing Time Assessment: We meticulously measured the time required for LED lamps to fully cure regular nail polish layers. The results highlight the efficiency of LED technology in achieving quick drying times.
Test Parameter LED Lamp Average Cure Time Comparative analysis against industry standards Instant Cure Options Examination of lamps offering instant curing features - Longevity and Durability: Our tests evaluated how well the dried regular nail polish endured daily activities. This included exposure to water, abrasions, and other potential stressors.
Durability Aspect LED Lamp Chip and Peel Resistance Analysis of polish resistance to chipping and peeling Longevity under Stress Examination of the polish’s durability under various conditions - Glossiness and Finish Quality: The gloss and finish quality achieved through LED lamp drying were meticulously examined. This involved assessing the shine, smoothness, and overall aesthetic appeal.
Finish Quality Aspect LED Lamp Glossiness and Shine Evaluation of the polish’s shine and glossiness Overall Aesthetic Appeal Assessment of the finished look and feel
Through these practical tests, we aim to provide you with a data-driven understanding of how LED lamps perform in real-world scenarios. The results will empower you to make informed decisions about incorporating LED technology into your regular nail care routine.
Guidelines for Safe and Effective Use of LED Lamp with Regular Nail Polish
To ensure a seamless experience when using LED lamps with regular nail polish, it’s crucial to adhere to specific guidelines and precautions. Here’s a comprehensive summary of considerations for a safe and effective application:
- Product Compatibility: Before commencing, verify that both the LED lamp and the chosen regular nail polish are compatible. Refer to the manufacturer’s recommendations regarding suitable products.
- Checklist: Confirm the LED lamp’s compatibility with the specific brand and type of regular nail polish.
- Wattage and Curing Time: Pay meticulous attention to the wattage specifications and recommended curing times of the LED lamp. Deviating from these guidelines may impact the drying process.
- Adherence: Strictly adhere to the prescribed wattage and curing times for optimal results.
- Ventilation and Safety Precautions: Ensure proper ventilation in the application area. Additionally, take safety precautions to minimize any potential risks associated with extended exposure to the LED lamp.
- Ventilation: Use LED lamps in well-ventilated spaces to disperse any fumes emitted during the curing process.
- Eye Protection: Consider wearing UV-protective glasses during prolonged use for added eye safety.
- Application Thickness: Apply regular nail polish in thin, even layers to facilitate efficient curing. Thick layers may result in uneven drying and potential issues.
- Precision: Aim for precision by applying thin layers of regular nail polish to achieve consistent results.
- Post-Curing Care: After completing the drying process, follow up with post-curing care to enhance the longevity and aesthetic appeal of the polished nails.
- Top Coat: Consider applying a compatible top coat to add an extra layer of protection and shine.
- Moisturize: Hydrate cuticles and nails to maintain overall nail health.
By incorporating these guidelines into your routine, you can enjoy the benefits of using LED lamps with regular nail polish while prioritizing safety and achieving professional-quality results.


