For many of us, going to the salon to get our nails done can be an expensive and time-consuming task. However, with the right tools and techniques, you can achieve the same professional-looking results at home. One of the best ways to do this is by using a complete acrylic nail kit that comes with a drill and UV light. In this article, we’ll show you how to use this type of kit to create beautiful, long-lasting acrylic nails that you can be proud of.
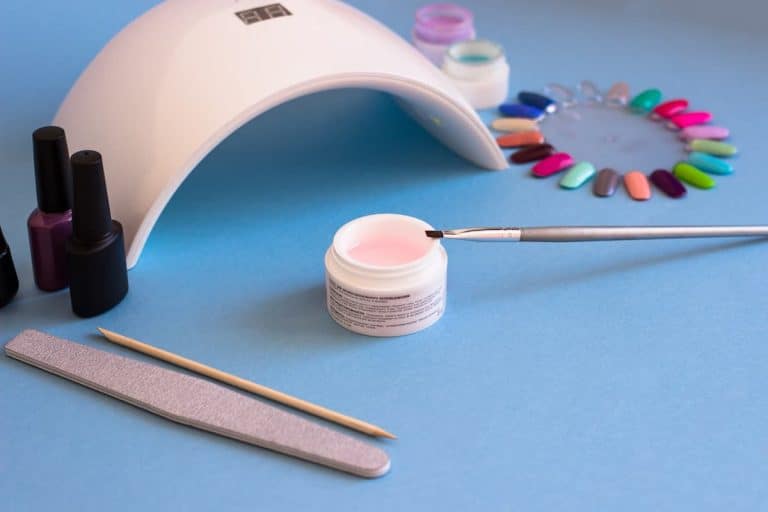
About Acrylic Nail Kits An acrylic nail kit typically contains everything you need to create acrylic nails, including a brush, acrylic powder, and liquid monomer. However, a complete acrylic nail kit with a drill and UV light will also come with a few additional tools that will make the process even easier. The drill is used to file and shape the nails, while the UV light is used to cure the acrylic and make it harden.
Choosing the Right Acrylic Nail Kit When choosing an acrylic nail kit, it’s important to consider your skill level and the quality of the kit. Lower-end kits may be cheaper, but they may not include all of the necessary tools or have as high-quality ingredients. Higher-end kits may be more expensive, but they will likely provide better results and last longer. Additionally, you’ll want to consider the price and the functionality of the kit, such as whether it has multiple speeds or attachments for the drill.
Using the Drill Once you have your acrylic nail kit, it’s time to start using the drill. Before you begin, make sure to read the instructions carefully and use caution when using the tool. It’s also important to use the right drill bit for the job, such as a coarse bit for removing old acrylic or a fine bit for shaping and smoothing the nails. When using the drill, start at a low speed and gradually increase it as needed. Use a light touch and be careful not to drill too deeply or too aggressively, as this can damage the natural nail.
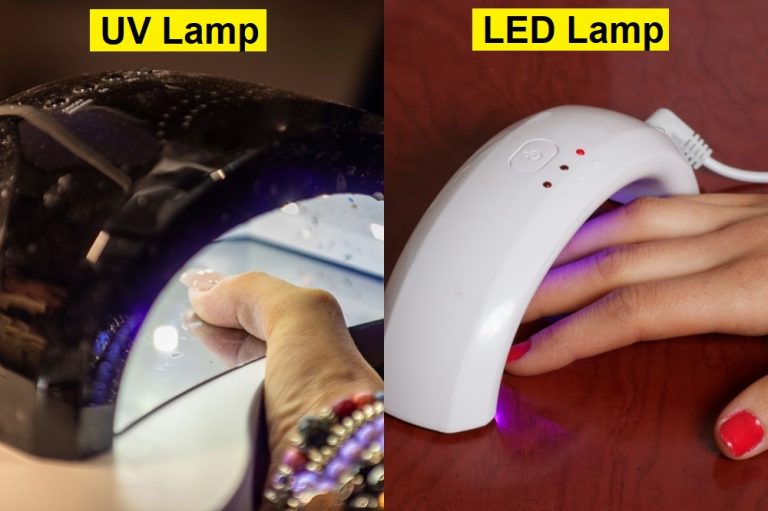
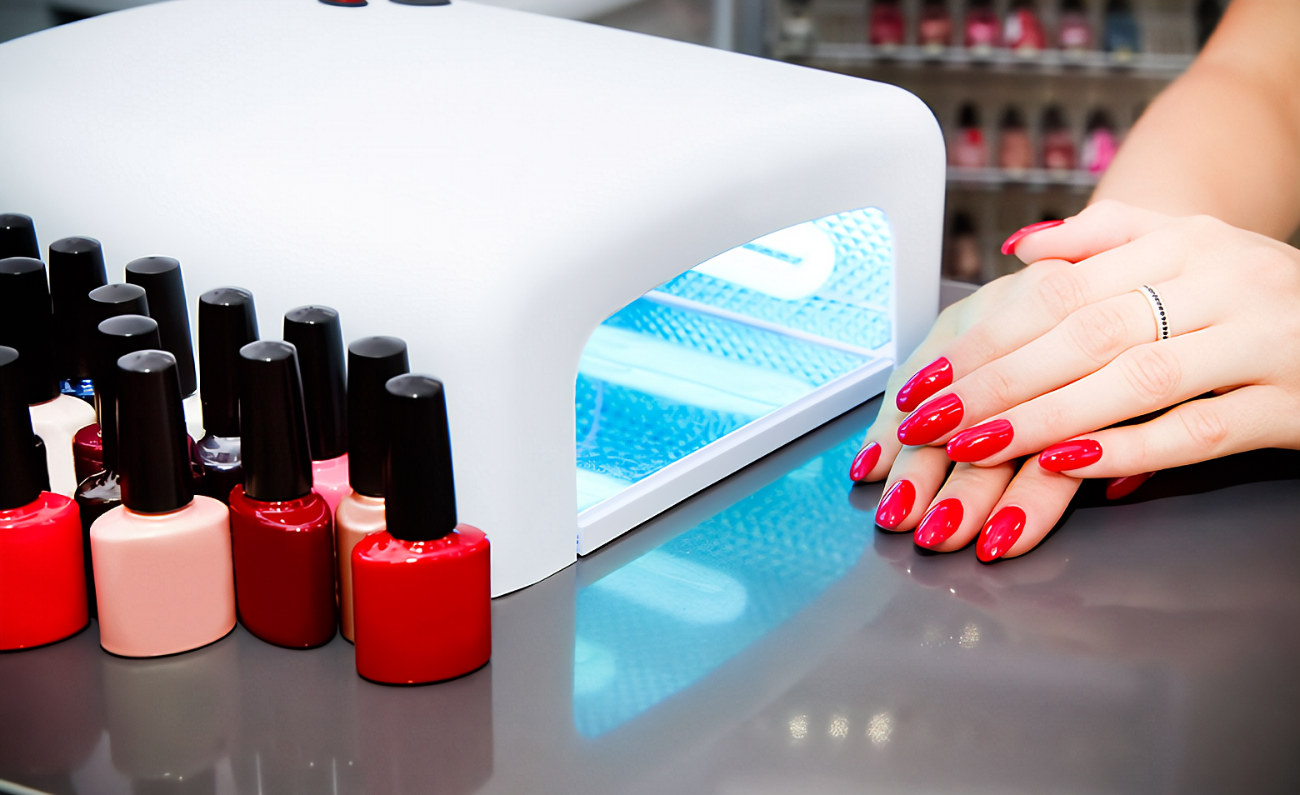
Using the UV Light After you’ve filed and shaped the nails, it’s time to cure the acrylic using the UV light. First, apply a thin layer of acrylic to the nail, making sure to cover the entire surface. Then, place the hand under the UV light for the recommended amount of time, usually around two to three minutes. Repeat this process for each nail, applying more layers of acrylic as needed. It’s important to be patient and let the acrylic cure completely before moving on to the next step.
Creating Acrylic Nails Once you’ve gotten the hang of using the drill and UV light, it’s time to start creating your acrylic nails. Start by preparing the natural nail by cleaning it and pushing back the cuticles. Then, apply a coat of primer to the nail to help the acrylic adhere better. Next, dip the brush into the liquid monomer and then into the acrylic powder, making sure to mix it well. Apply the acrylic to the nail, starting at the cuticle and working your way down to the tip. Use the brush to smooth out any bumps or uneven areas, and then cure the acrylic under the UV light.
Maintaining and Caring for Acrylic Nails Once you’ve created your acrylic nails, it’s important to take care of them properly to ensure that they last as long as possible. Avoid using your nails as tools or exposing them to harsh chemicals, and be gentle when washing your hands or doing household chores. You can also apply a top coat to the nails to help protect them and keep them looking shiny and new.
Conclusion With a complete acrylic nail kit with drill and UV light, you can achieve salon-worthy nails at home without the need to spend a fortune on salon visits. By following the steps outlined in this article, you can create beautiful, long-lasting acrylic nails that you can be proud of. Remember to choose a high-quality acrylic nail kit that includes all of the necessary tools, and to use caution when using the drill and UV light. With a little practice and patience, you’ll be able to create professional-looking acrylic nails that will make you the envy of all your friends.
In addition to using a complete acrylic nail kit, there are a few other tips and tricks you can use to keep your nails looking their best. For example, you can use a nail file to shape and smooth the edges of your nails between fills. You can also use cuticle oil to moisturize your cuticles and help prevent them from drying out and cracking.
Another important thing to keep in mind is that acrylic nails require regular fills to maintain their shape and length. Fills are typically needed every two to three weeks, depending on how quickly your nails grow. You can either do your own fills at home using the same acrylic nail kit, or you can visit a salon to have them done professionally.
Overall, using a complete acrylic nail kit with a drill and UV light can be a great way to achieve salon-worthy nails at home. With the right tools and techniques, you can create beautiful, long-lasting acrylic nails that will make you feel confident and glamorous. Just be sure to choose a high-quality kit, use caution when using the drill and UV light, and follow the steps outlined in this article. Happy nail painting!
In conclusion, using an acrylic nail kit with a drill and UV light can be a fun and cost-effective way to achieve beautiful, professional-looking nails at home. However, it’s important to choose a high-quality kit that includes all the necessary tools and to use caution when handling the drill and UV light. If you’re looking for a reliable and trusted manufacturer of beauty and nail care products, IKSBeauty offers a wide range of customizable options to suit your specific needs. With their commitment to quality and customer satisfaction, you can trust that you’re getting the best products for your money. So why not give it a try and see the amazing results for yourself?


