Acrylic nails are a popular way to enhance the look of your natural nails. They are strong, durable, and can be customized to your liking. While many people opt to get their acrylic nails done at a salon, doing them at home can save you time and money. In this article, we’ll provide a step-by-step guide on how to do acrylic nails at home without a drill, as well as some tips and tricks to help you achieve salon-quality results.
Benefits of Doing Acrylic Nails at Home
There are several benefits to doing acrylic nails at home. First and foremost, it can save you a significant amount of money compared to going to a salon. You also have more control over the final result, as you can customize the length, shape, and color of your nails to your liking. Additionally, doing your own nails can be a fun and relaxing activity, and you can even turn it into a bonding experience with friends or family members.
Necessary Supplies
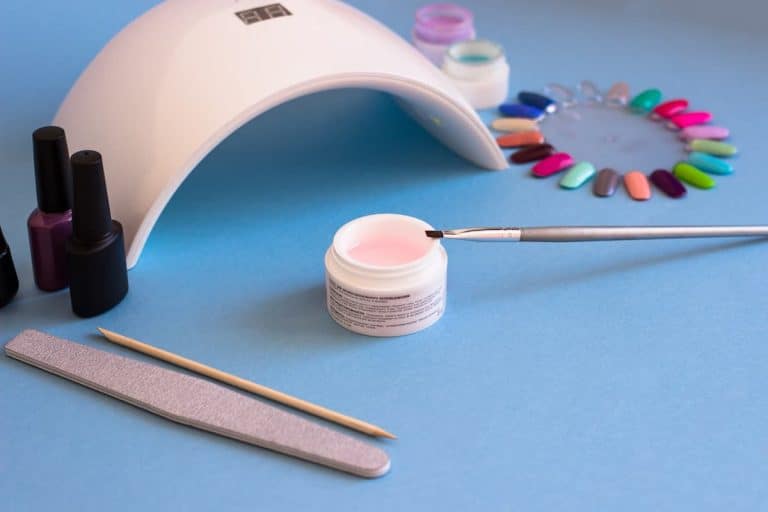
To do acrylic nails at home, you will need a few essential supplies. These include:
- Nail tips – These are plastic or acrylic extensions that are glued onto your natural nails to create length and shape.
- Nail glue – This is used to attach the nail tips to your natural nails.
- Acrylic powder – This is a polymer powder that is mixed with liquid to create the acrylic that is applied to your nails.
- Acrylic liquid – This is a monomer liquid that is mixed with the acrylic powder to create the acrylic that is applied to your nails.
- Nail brush – This is used to apply the acrylic mixture to your nails.
- Nail file – This is used to shape and smooth out your nails.
- Cuticle pusher – This is used to push back your cuticles and trim any excess skin.
- Nail polish (optional) – This can be applied to your nails once the acrylic has dried to add color or designs.
Step-by-Step Guide
Now, let’s dive into the process of doing acrylic nails at home without a drill.
Step 1: Prep your nails
Start by removing any old nail polish and cleaning your nails thoroughly. Use a cuticle pusher to push back your cuticles and trim any excess skin. Then, shape your nails with a nail file to your desired length and shape. It’s important to make sure your nails are completely dry before moving on to the next step.
Step 2: Apply nail tips
Take the nail tips and apply a small amount of nail glue to the back of each tip. Place the tip on your nail, pressing down gently to secure it. Use nail clippers to trim the tips to your desired length. Make sure the nail tips are aligned with the natural curve of your nails.
Step 3: Mix acrylic powder and liquid
In a small dish, mix together the acrylic powder and liquid according to the instructions on the package. Use the nail brush to apply the mixture to the area where the nail tip meets your natural nail. Be sure to apply it evenly and smoothly, without getting any on your skin. If you’re new to using acrylic, start with a small amount and work your way up as you become more comfortable with the process.
Step 4: Sculpt and shape the acrylic
Once the acrylic has dried, use a nail file to shape and smooth out the surface of your nails. Be gentle and take your time, as you want to avoid filing too much and damaging your natural nails. You can shape the nails to your desired length and shape, and create a smooth, even surface for applying nail polish or designs.
Step 5: Apply nail polish (optional)
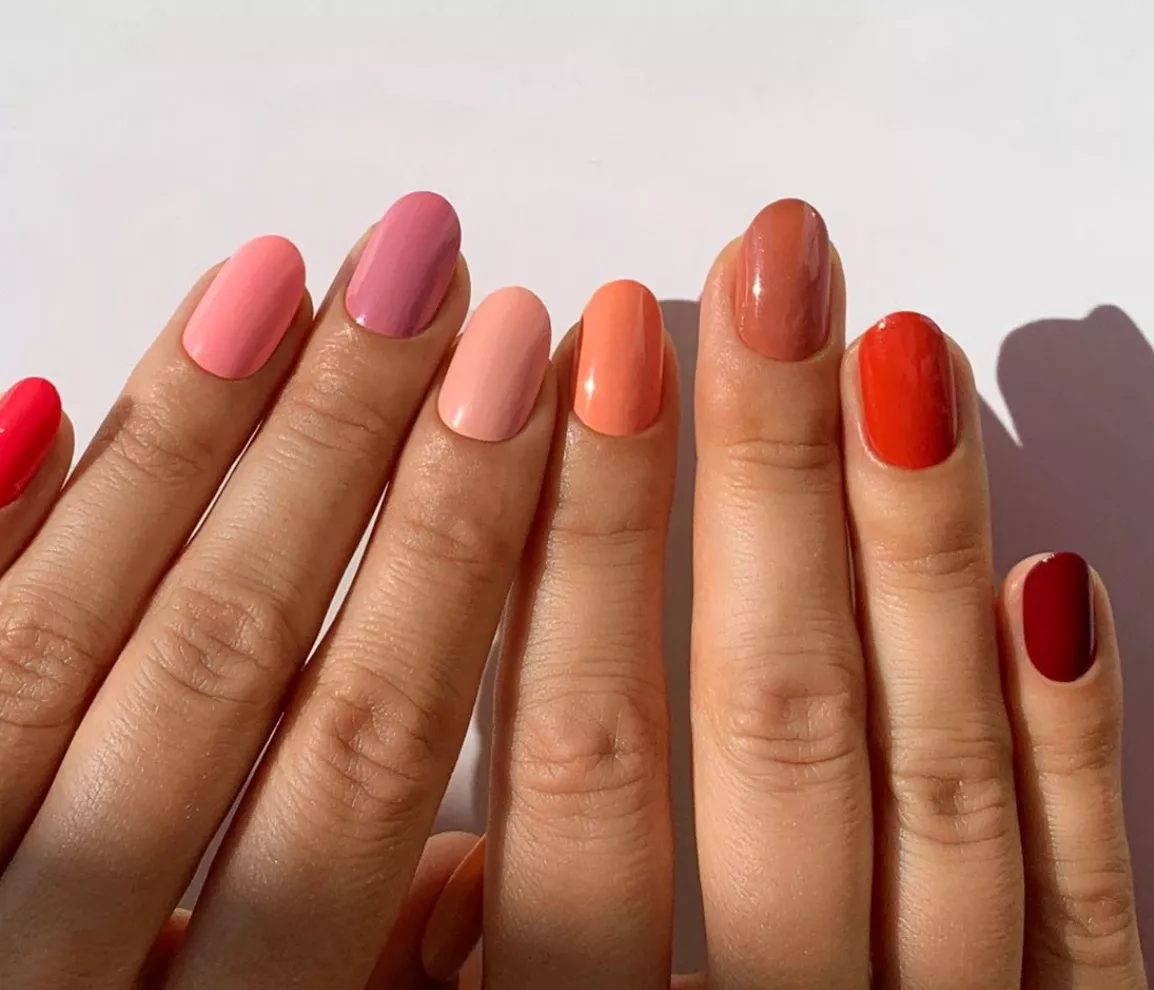
If you want to add color or designs to your nails, wait until the acrylic has completely dried and then apply nail polish. You can use any color or design that you like, and you can even experiment with different techniques like ombre or glitter.
Tips and Tricks
Here are some tips and tricks to help you achieve salon-quality results when doing acrylic nails at home:
- Practice makes perfect – don’t be discouraged if your first attempt isn’t perfect. The more you practice, the better you’ll get.
- Be patient – take your time and don’t rush the process. This will ensure that your nails look their best.
- Use quality products – invest in high-quality nail products, such as IKSBeauty acrylic powders and liquids, to ensure the best results.
- Keep your workspace clean – make sure your workspace is clean and organized to avoid any accidental spills or messes.
- Don’t file too much – be gentle when filing your nails to avoid damaging your natural nails.
- Watch tutorials – there are plenty of tutorials online that can provide helpful tips and tricks for doing acrylic nails at home.
Conclusion
Doing acrylic nails at home without a drill can be a fun and cost-effective way to enhance the look of your natural nails. With the right supplies and some practice, you can achieve salon-quality results from the comfort of your own home. Remember to be patient, use high-quality products, and take your time to ensure the best results. And if you’re in need of quality nail products, be sure to check out IKSBeauty for their acrylic powders and liquids, as well as their custom factory options.
In conclusion, doing acrylic nails without a drill is a great way to save money and create unique and beautiful designs at home. With the tips and tricks outlined in this article, you can achieve salon-quality results without the need for expensive equipment or professional services. Remember to take your time, use quality products, and practice regularly to improve your skills. And if you’re looking for high-quality nail products, consider checking out IKSBeauty for their acrylic powders and liquids, as well as their custom factory options. Happy nail art creating!


