Welcome to the exciting world of nail art! Whether you are a budding nail enthusiast or a seasoned professional, having the right tools is essential to create stunning nail designs. Among the must-haves in your arsenal is the versatile nail drill, a powerful and efficient device that can take your nail art game to new heights. In this comprehensive guide brought to you by Iks Beauty, a trusted name with over a decade of experience in the nail drill industry, we will walk you through the fundamentals of using a nail drill for beginners.
Are you ready to unlock the potential of this incredible tool? Let’s delve into the basics of nail drill usage, safety tips, and essential techniques that will empower you to achieve flawless nails. Whether you’re an aspiring DIY nail artist or a professional looking to refine your skills, this guide has got you covered. So, let’s get started on this exciting journey of mastering the art of using a nail drill!
What is a Nail Drill?
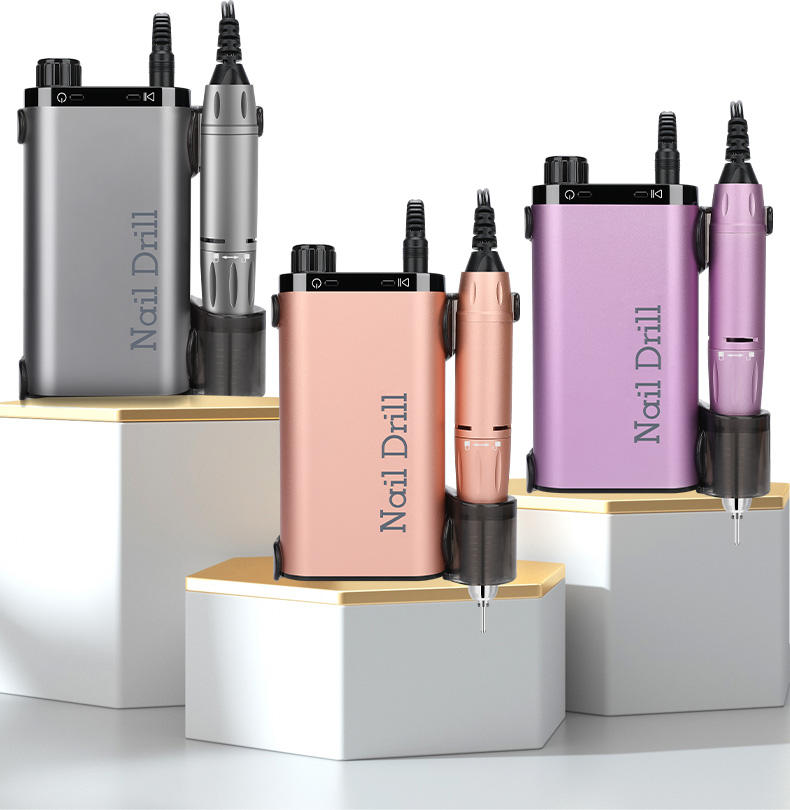
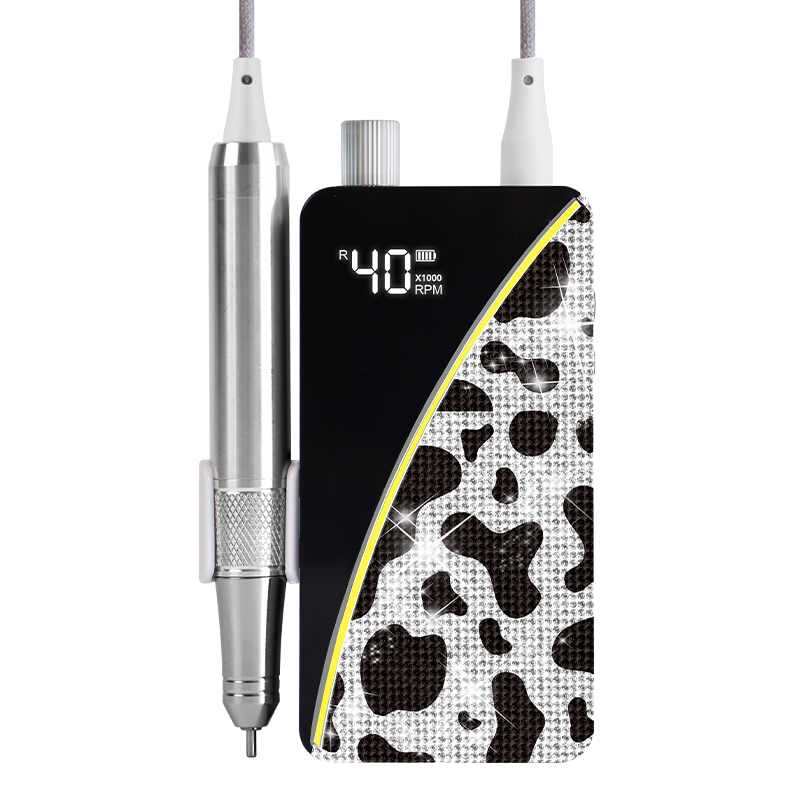
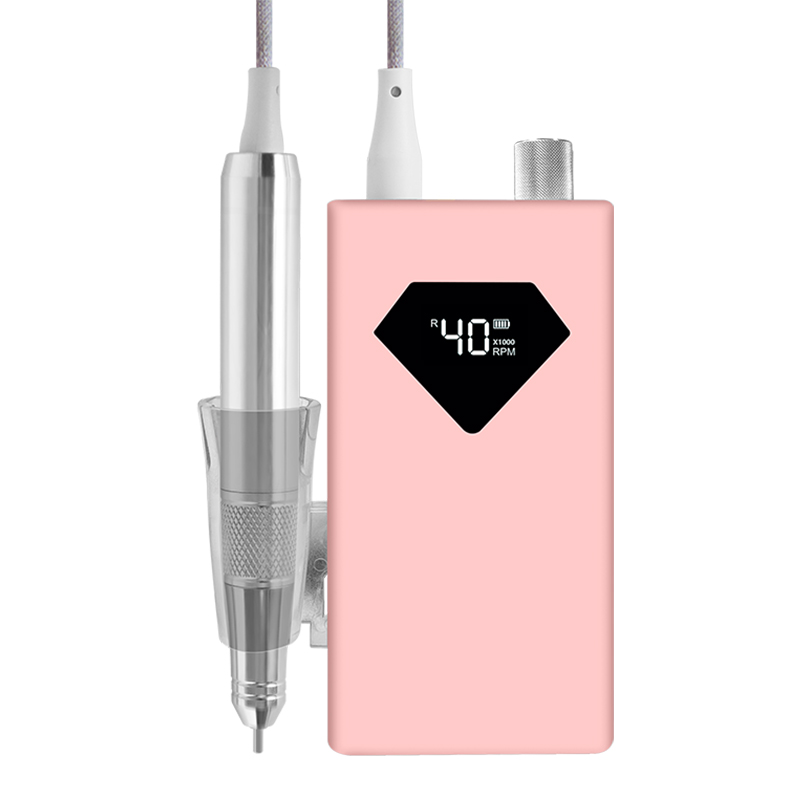
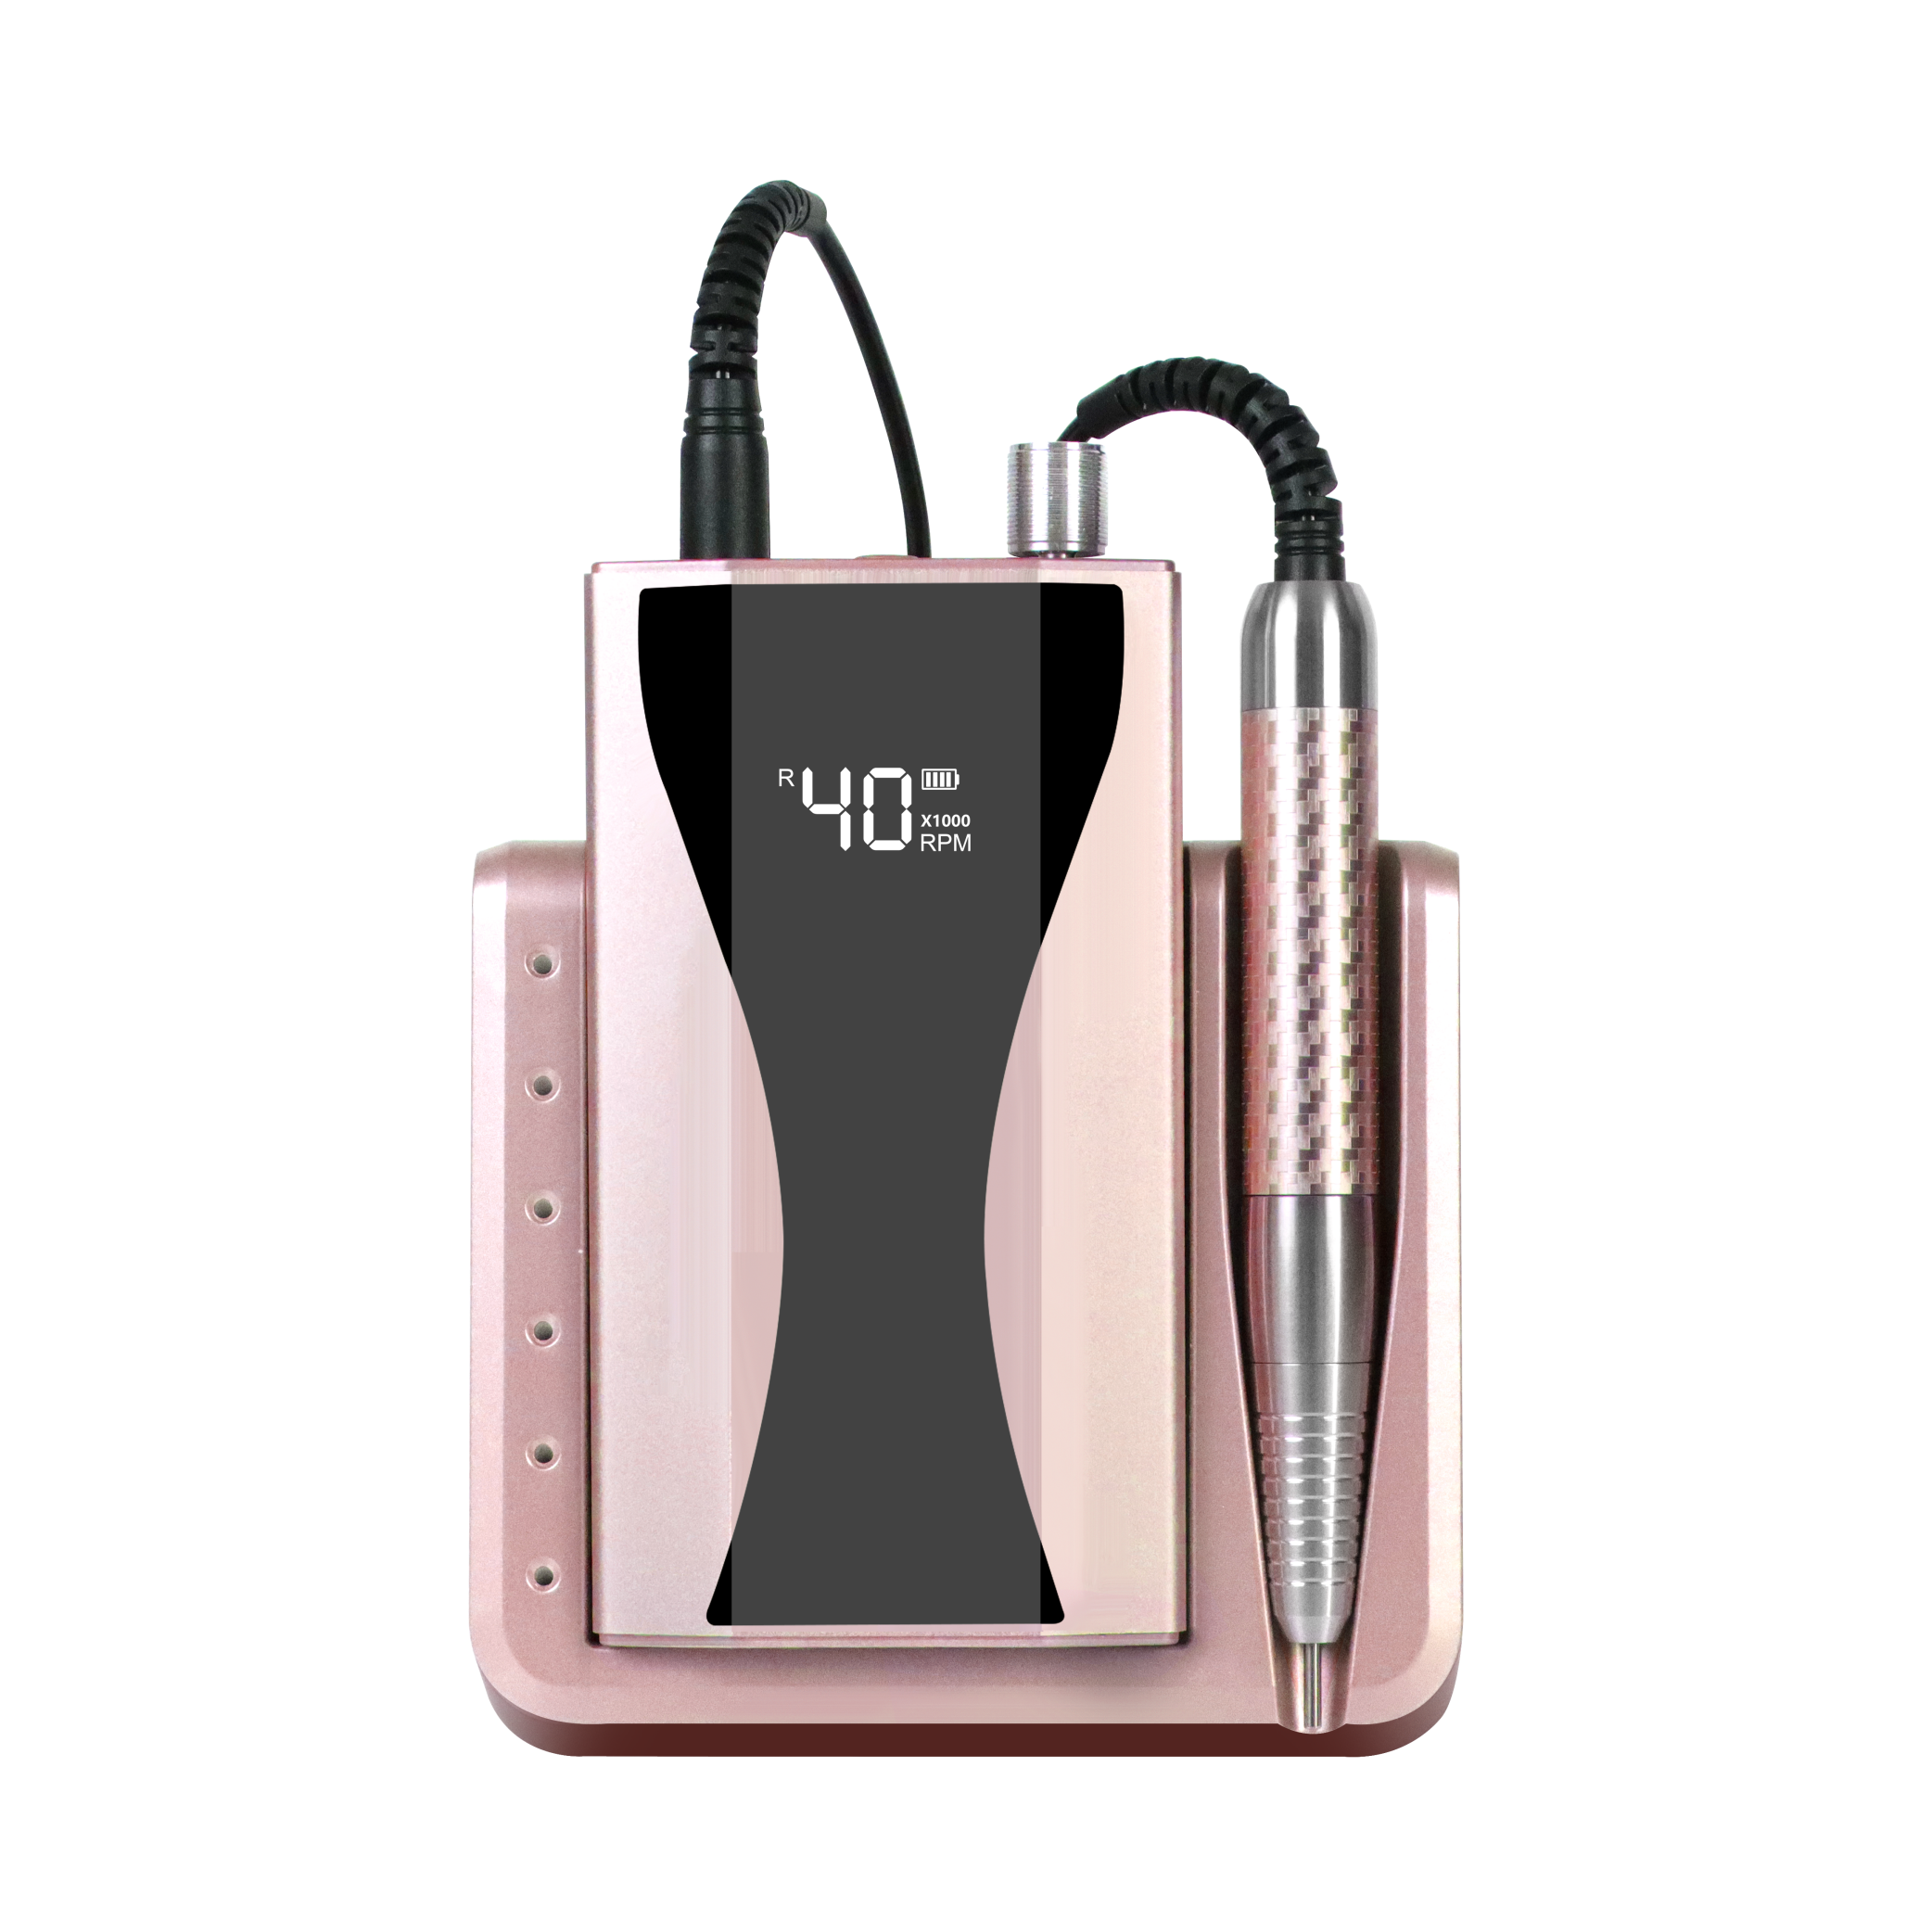
A nail drill is a powerful and versatile tool widely used in the nail care industry. It serves as a valuable aid for both professionals and nail enthusiasts in achieving impeccable nail designs. Here’s a breakdown of its key aspects:
- Definition: A nail drill, also known as an electric nail file, is a handheld device equipped with various rotating bits or attachments. These bits, made from different materials, are designed to perform specific tasks on the nails.
- Functionality: The nail drill operates through adjustable speed settings, allowing precise control during nail shaping, filing, and polishing. Its high-speed rotation ensures efficiency and accuracy in nail care procedures.
- Types of Bits and Attachments: Nail drills come with a diverse range of bits and attachments, each tailored for distinct nail services. Common types include:
Bit Type Function Barrel Bit Smoothing and shaping Cone Bit Removing cuticles Sanding Bands Refining nail surface Diamond Bit Precision nail art Mandrel Holding sanding bands
As we delve deeper into the world of nail drills, you’ll discover how this essential tool can elevate your nail artistry to new heights. Let’s move on to explore the reasons why choosing a nail drill is a game-changer in the realm of nail care.
Why Choose a Nail Drill?
A nail drill is a valuable investment for both nail enthusiasts and professional nail technicians. Its efficiency and versatility make it an indispensable tool in the world of nail care. Here’s why choosing a nail drill is a game-changer:
- Efficiency: Unlike traditional hand filing, a nail drill significantly reduces the time and effort required for various nail services. Its high-speed rotation allows quick and precise shaping, resulting in smooth and well-groomed nails.
- Versatility: A nail drill offers a wide range of functions, making it suitable for various nail treatments and designs. From removing calluses and cuticles to creating intricate nail art, the nail drill’s versatile attachments cater to diverse nail care needs.
- Professional Finish: With a nail drill’s precise control, nail technicians can achieve a level of precision and consistency that enhances the overall quality of their work. Clients will appreciate the professional finish and attention to detail.
- Enhanced Nail Artistry: For nail enthusiasts, a nail drill opens up new possibilities for creativity. It allows them to experiment with different nail shapes, designs, and techniques, leading to unique and impressive nail art results.
- Client Satisfaction: Professional nail services performed using a nail drill often lead to higher client satisfaction. The efficiency, precision, and comfort offered by the tool contribute to an overall pleasant salon experience.
- Time and Cost Savings: While initial investment may be required, the long-term benefits of using a nail drill outweigh the costs. Its durability and effectiveness lead to cost savings over time, especially for frequent nail care.
Table: Key Benefits of Choosing a Nail Drill
| Benefits | Explanation |
|---|---|
| Efficiency | Saves time and effort during nail services |
| Versatility | Suitable for various nail treatments and designs |
| Professional Finish | Ensures precision and consistency in work |
| Enhanced Nail Artistry | Expands creative possibilities for nail enthusiasts |
| Client Satisfaction | Leads to higher customer happiness and loyalty |
| Time and Cost Savings | Long-term cost-effectiveness for nail care |
In conclusion, opting for a nail drill is a decision that elevates the quality of nail care services while boosting creative potential. Its efficiency, multifunctionality, and professional results make it a valuable asset in any nail care toolkit. Whether you’re a nail enthusiast or a professional, a nail drill is a game-changer that paves the way for stunning and flawless nail artistry.
The Importance of Safe Use of a Nail Drill
Ensuring safety while using a nail drill is of utmost importance to protect both the user and the client. To create a secure and comfortable environment, nail technicians and enthusiasts should be aware of essential safety practices. Below are crucial safety measures when using a nail drill:
- Wear Protective Gear: Always wear appropriate personal protective equipment (PPE) such as safety glasses, a dust mask, and disposable gloves. This shields against debris and dust generated during the nail drill process.
- Proper Grip and Posture: Maintain a firm and comfortable grip on the nail drill to avoid slips or accidents. Position the hand and wrist ergonomically to prevent strain or repetitive motion injuries.
- Controlled Speed Setting: Begin with the lowest speed setting, especially for beginners. Gradually increase the speed as confidence and proficiency improve, ensuring precise control during nail treatments.
- Avoiding Heat Buildup: Continuous drilling can cause the nail drill to heat up. Take breaks between prolonged usage to prevent overheating and potential discomfort to the client.
- Mindful Pressure Application: Apply gentle and consistent pressure on the nail surface. Excessive force can lead to nail damage or discomfort for the client.
- Keep the Device Clean: Regularly clean the nail drill and its attachments to remove nail debris and prevent the buildup of bacteria or contaminants.
- Proper Storage: Store the nail drill in a safe and secure place when not in use. Avoid leaving it where it may be accidentally knocked over or mishandled.
Table: Key Safety Measures When Using a Nail Drill
| Safety Measures | Explanation |
|---|---|
| Wear Protective Gear | Shield against debris and dust with appropriate PPE |
| Proper Grip and Posture | Maintain secure grip and ergonomic hand and wrist position |
| Controlled Speed Setting | Start with low speed and gradually increase proficiency |
| Avoiding Heat Buildup | Take breaks to prevent overheating during prolonged use |
| Mindful Pressure Application | Apply gentle pressure to prevent nail damage or discomfort |
| Keep the Device Clean | Regularly clean to prevent bacteria buildup |
| Proper Storage | Store securely to avoid mishandling or damage |
By adhering to these safety guidelines, nail enthusiasts and technicians can confidently utilize the nail drill to create stunning nail designs while ensuring a secure and comfortable experience for both themselves and their clients. Safety remains the top priority when working with this powerful tool.
Step One: Preparations
Before diving into the exciting world of nail drill usage, it is essential to lay the groundwork with proper preparations. This step sets the stage for a seamless and successful nail care experience. Here’s what you need to do before using a nail drill:
- Clean the Nail Drill: Ensure the nail drill and its attachments are clean and free from any residues or debris from previous use. Use an appropriate cleaning solution and follow the manufacturer’s guidelines.
- Check Attachments and Equipment: Examine all attachments and accessories, including drill bits, sanding bands, and mandrels. Make sure they are in good condition and properly attached to the nail drill.
- Prepare the Workstation: Set up a well-lit and comfortable workstation with ample space to work around. Organize your tools, towels, and sanitizers within reach for easy access during the nail drill process.
- Inspect Electrical Connections: If your nail drill requires electrical power, verify that all electrical connections are secure and in good working order. Avoid using a nail drill with damaged cords or plugs.
- Sanitize Hands and Nails: Prioritize hygiene by thoroughly sanitizing your hands and the client’s nails before starting the nail drill procedure. This helps reduce the risk of infection or contamination.
- Client Consultation: If you are a professional nail technician, engage in a brief consultation with the client to understand their preferences and any specific nail care requirements they may have.
Table: Checklist for Preparing the Nail Drill
| Preparations | Explanation |
|---|---|
| Clean the Nail Drill | Ensure cleanliness and hygiene of the nail drill and its attachments |
| Check Attachments and Equipment | Examine and confirm good condition and proper attachment of accessories |
| Prepare the Workstation | Organize a well-lit and comfortable space for efficient nail care |
| Inspect Electrical Connections | Verify safe and functional electrical connections |
| Sanitize Hands and Nails | Prioritize hygiene to prevent infection or contamination |
| Client Consultation | Understand client preferences and specific nail care requirements |
By diligently following these preparatory steps, users can proceed with confidence, knowing they have laid a solid foundation for a smooth and successful nail drill experience. With the preparations complete, it’s time to dive into the exciting world of nail drill techniques and unleash the creativity that awaits!
Step Two: Proper Use of the Nail Drill
Now that the preparations are complete, it’s time to delve into the exciting world of using a nail drill. Mastering the correct techniques ensures precise and beautiful nail results. Let’s explore the step-by-step process of using a nail drill, covering nail filing, shaping, and sculpting techniques:
- Select the Appropriate Drill Bit: Choose the right drill bit based on the specific task. For nail filing and shaping, use a barrel bit for general refinement, while a cone bit works well for cuticle removal.
- Position the Nail Drill: Hold the nail drill with a steady grip, ensuring comfort and control during the process. Rest the client’s hand on a soft cushion or towel for support.
- Nail Filing Technique: Use gentle and smooth movements to file the nail’s surface. Work from the outer edge towards the center, shaping the nail according to the client’s preference.
- Shaping and Smoothing: With the appropriate bit, refine the nail shape, making sure both hands are symmetrical. Smooth any rough edges to achieve a polished look.
- Cuticle Care: Utilize a cone bit to carefully remove excess cuticles, maintaining a cautious and light touch to avoid damaging the skin.
- Sculpting Nail Art: For creative nail artistry, use specialized drill bits like diamond bits to create intricate designs. Employ precise movements and a light touch for meticulous detailing.
- Finishing Touch: After the desired nail design is achieved, use a buffer attachment to polish the nails, creating a smooth and glossy finish.
Table: Key Techniques for Using a Nail Drill
| Techniques | Explanation |
|---|---|
| Select the Appropriate Drill Bit | Choose the right bit for each specific task |
| Position the Nail Drill | Hold the drill with a steady grip for comfort and control |
| Nail Filing Technique | File the nail surface using gentle and smooth movements |
| Shaping and Smoothing | Refine the nail shape and smooth rough edges |
| Cuticle Care | Carefully remove excess cuticles with a light touch |
| Sculpting Nail Art | Use specialized bits for intricate nail art designs |
| Finishing Touch | Polish the nails with a buffer attachment for a glossy finish |
By mastering these nail drill techniques, users can confidently create stunning nail designs and deliver professional-level nail care services. With precision and creativity at their fingertips, the possibilities are limitless!
Common Questions and Solutions
Using a nail drill as a beginner may come with some challenges and questions. Fear not! Here’s a list of common issues beginners might encounter and practical solutions to overcome them:
- Problem: Nail Heat or Discomfort
- Solution: Reduce drill speed, take breaks between usage, and use cooling agents like water or cooling gels to soothe the nails.
- Problem: Uneven Nail Surface
- Solution: Practice even pressure and gentle movements while filing to achieve a smooth and consistent nail surface.
- Problem: Nail Drill Slipping
- Solution: Ensure a firm grip on the nail drill and avoid excessive force, letting the drill do the work.
- Problem: Nicks or Cuts on Nails
- Solution: Pay close attention and work cautiously, keeping the drill away from the skin to prevent injuries.
- Problem: Dust and Debris Accumulation
- Solution: Use a vacuum or a dust collection system to minimize dust, and regularly clean the work area.
- Problem: Overheating Nail Drill
- Solution: Take breaks during prolonged usage, allowing the drill to cool down before resuming.
- Problem: Difficulty in Nail Art Detailing
- Solution: Practice with different drill bits and experiment with lighter pressure for more precision.
- Problem: Bits Getting Stuck
- Solution: Make sure the drill is turned off before changing bits, and gently remove stuck bits with the provided tool.
Table: Common Problems and Solutions When Using a Nail Drill
| Problems | Solutions |
|---|---|
| Nail Heat or Discomfort | Reduce speed, take breaks, and use cooling agents |
| Uneven Nail Surface | Practice even pressure and gentle movements |
| Nail Drill Slipping | Maintain a firm grip and let the drill do the work |
| Nicks or Cuts on Nails | Work cautiously, keeping the drill away from the skin |
| Dust and Debris Accumulation | Use a vacuum or dust collection system and maintain cleanliness |
| Overheating Nail Drill | Take breaks to prevent overheating |
| Difficulty in Nail Art Detailing | Experiment with different bits and apply lighter pressure |
| Bits Getting Stuck | Turn off the drill before changing bits and gently remove stuck bits |
By understanding and implementing these solutions, beginners can confidently address common issues that may arise when using a nail drill. With practice and patience, they will quickly gain proficiency and enjoy a seamless nail drill experience.
Tips and Tricks
Unlock the full potential of your nail drill with these practical tips and tricks that will enhance your skills and mastery of this tool. Embrace these techniques to become more proficient in using a nail drill:
- Maintain a Light Touch: Use a gentle and light touch when working with the nail drill. Applying too much pressure can lead to mistakes or discomfort for the client.
- Practice on Fake Nails: For beginners, practicing on fake nails or nail tips allows for experimentation without the pressure of working on natural nails.
- Experiment with Speed: Explore different speed settings to find what works best for each task. Start slow and gradually increase the speed as needed.
- Utilize Support Tools: Implement tools like finger rests or hand cushions to stabilize the client’s hand during nail drill procedures.
- Avoid Drilling too Close to Cuticles: Leave a small gap between the drill and cuticles to prevent injury and minimize the risk of infections.
- Work in Small Sections: Focus on one small area at a time to maintain control and precision during the nail drill process.
- Regularly Clean Attachments: Clean the drill bits and attachments after each use to maintain their effectiveness and hygiene.
- Master Bit Changing: Practice changing drill bits efficiently to save time during nail care procedures.
- Stay Informed: Continuously learn about new techniques and trends in nail drill usage to refine your skills.
Table: Tips and Tricks for Using a Nail Drill
| Tips and Tricks | Explanation |
|---|---|
| Maintain a Light Touch | Apply gentle pressure for improved control |
| Practice on Fake Nails | Experiment freely without affecting natural nails |
| Experiment with Speed | Adjust speed settings for optimal performance |
| Utilize Support Tools | Use finger rests or cushions for hand stabilization |
| Avoid Drilling Close to Cuticles | Leave a small gap to protect cuticle area |
| Work in Small Sections | Focus on precise work by dividing the nail into sections |
| Regularly Clean Attachments | Ensure hygiene and preserve the effectiveness of bits |
| Master Bit Changing | Efficiently switch between bits for seamless procedures |
| Stay Informed | Continuously learn and improve nail drill techniques |
By incorporating these valuable tips into your nail drill routine, you can refine your skills and achieve remarkable nail results. Practice, patience, and a commitment to learning will undoubtedly elevate your nail care expertise to new heights.
Maintaining Your Nail Drill
Proper maintenance is the key to ensuring the longevity and optimal performance of your nail drill. Follow this maintenance guide to keep your device in top-notch condition:
- Cleaning the Nail Drill: Regularly clean the nail drill, removing dust and debris that may accumulate during use. Use a soft brush or cloth to wipe away residue.
- Disinfecting Attachments: After each use, disinfect the attachments and drill bits with an appropriate cleaning solution to prevent cross-contamination.
- Lubricating Moving Parts: Apply a small amount of lubricant to the moving parts of the nail drill, such as the handpiece, to maintain smooth operation.
- Checking Power Cord and Plugs: Inspect the power cord and plugs for any signs of damage or wear. Replace them if necessary to avoid electrical issues.
- Replacing Worn-out Parts: Keep an eye on attachments and bits for signs of wear. Replace them as needed to maintain efficiency and prevent damage to the nail drill.
- Proper Storage: Store the nail drill in a clean and dry environment, preferably in a protective case, to prevent dust or moisture from affecting its performance.
- Regular Maintenance Schedule: Establish a maintenance routine and stick to it. Regular check-ups and cleaning will prolong the life of your nail drill.
Table: Maintenance Guide for a Nail Drill
| Maintenance Steps | Explanation |
|---|---|
| Cleaning the Nail Drill | Remove dust and debris for hygiene and efficiency |
| Disinfecting Attachments | Prevent cross-contamination between clients |
| Lubricating Moving Parts | Ensure smooth operation of the nail drill |
| Checking Power Cord and Plugs | Avoid electrical issues by inspecting for damage or wear |
| Replacing Worn-out Parts | Maintain efficiency and prevent potential damage to the drill |
| Proper Storage | Protect the nail drill from dust and moisture during storage |
| Regular Maintenance Schedule | Establish a routine to ensure consistent care for the nail drill |
By following this maintenance guide diligently, users can extend the lifespan of their nail drill while maintaining its high-performance capabilities. Regular care will not only safeguard your investment but also deliver outstanding results throughout your nail care journey.
Exploring Creative Uses of a Nail Drill
Did you know that a nail drill has fascinating applications beyond the world of nail care? Unleash your creativity and discover some unconventional uses of the nail drill that might inspire you:
- Wood Carving: With the right attachments, a nail drill can be transformed into a mini wood carving tool, ideal for intricate woodworking projects.
- Jewelry Crafting: Add delicate details to metal or resin jewelry pieces using a nail drill equipped with diamond bits.
- Stone Engraving: Create personalized stones or pebbles with names or messages using a nail drill and a fine-tipped attachment.
- Crafting Miniatures: A nail drill allows for precise work on small-scale projects like dollhouses or model making.
- Pottery and Ceramics: Use a nail drill to carve intricate designs into clay or ceramics, adding unique patterns to your creations.
- Cleaning Small Devices: The gentle rotary motion of a nail drill can effectively clean hard-to-reach areas on electronics or small devices.
- Pedicure Callus Removal: Beyond nails, the nail drill can help gently remove calluses on the feet during pedicures.
Table: Creative Uses of a Nail Drill
| Creative Uses | Explanation |
|---|---|
| Wood Carving | Transform the nail drill into a woodworking tool for intricate designs |
| Jewelry Crafting | Add fine details to metal or resin jewelry pieces |
| Stone Engraving | Personalize stones or pebbles with names or messages |
| Crafting Miniatures | Perfect for small-scale projects like dollhouses or models |
| Pottery and Ceramics | Carve intricate designs into clay or ceramics |
| Cleaning Small Devices | Effectively clean hard-to-reach areas on electronics or devices |
| Pedicure Callus Removal | Gentle callus removal during pedicure sessions |
These creative uses of a nail drill open up a world of possibilities beyond traditional nail care. Embrace your imagination and let the nail drill become a versatile tool for your artistic endeavors. The journey of exploration and inspiration awaits!

