Changing sanding bands on a nail drill is an essential skill for nail technicians and enthusiasts. Whether you’re a professional looking to replace worn-out bands or a DIY enthusiast exploring nail care at home, understanding how to change sanding bands is crucial. In this comprehensive guide, we will provide a detailed step-by-step tutorial on how to effectively change sanding bands on a nail drill. By following these instructions and tips, you’ll be able to effortlessly swap out sanding bands and ensure optimal performance during your nail care routines.
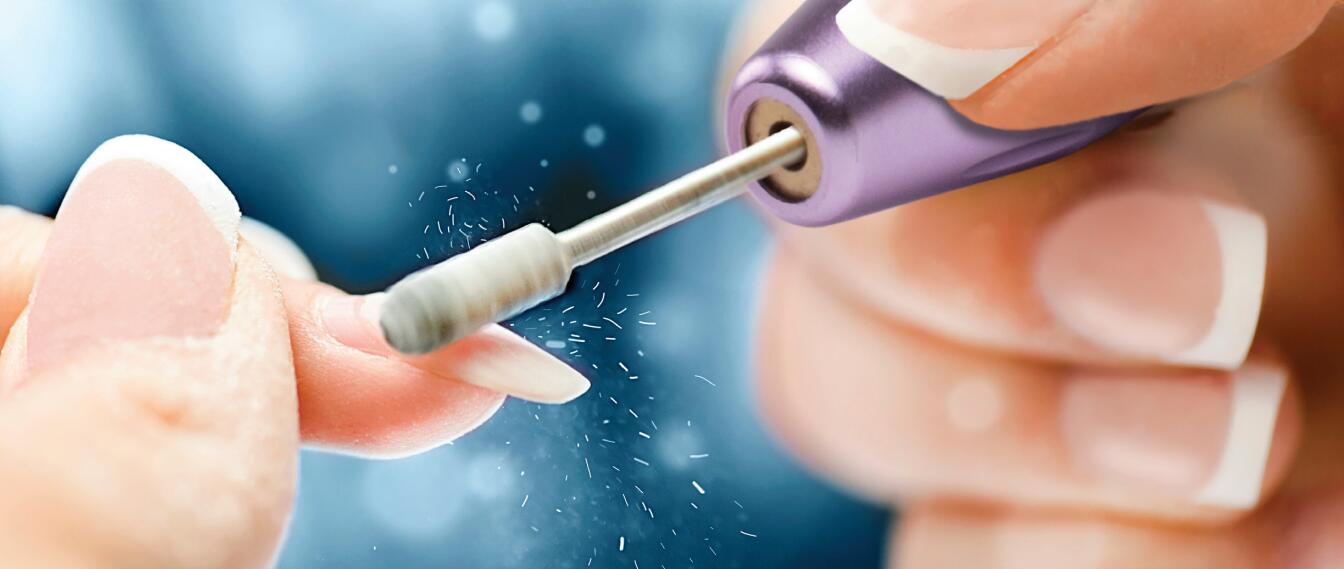
Understanding Sanding Bands and Nail Drills Before we delve into the process of changing sanding bands, it’s important to understand the components involved. Sanding bands are cylindrical attachments made of abrasive material, while nail drills are electric tools designed for filing, shaping, and buffing nails. Knowing the basics of sanding bands and nail drills will help you make informed decisions when changing the bands.
Step-by-Step Guide to Changing Sanding Bands
Step 1: Gather the necessary tools Begin by gathering the tools required for the task. You will need a new sanding band, a nail drill with a removable mandrel, and a small tool like a screwdriver or mandrel wrench to loosen the mandrel.
Step 2: Prepare the nail drill Before starting, ensure that the nail drill is switched off and disconnected from the power source. Safety should always be a top priority.
Step 3: Loosen the mandrel Using the small tool, gently loosen the mandrel by turning it counterclockwise. Be careful not to apply excessive force to avoid damaging the nail drill.
Step 4: Remove the old sanding band Once the mandrel is loosened, carefully slide off the old sanding band from the end of the mandrel. Take note of the direction in which the sanding band was installed, as it will help you install the new one correctly later.
Step 5: Install the new sanding band Take the new sanding band and slide it onto the end of the mandrel. Ensure that the sanding band is positioned securely and aligned properly. Pay attention to the direction of the band based on your previous observation.
Step 6: Tighten the mandrel Using the small tool, tighten the mandrel by turning it clockwise until it is securely in place. Exercise caution not to overtighten, as it can lead to difficulties when removing the sanding band in the future.
Tips for Proper Sanding Band Usage
- Choose the right grit: Select a sanding band with the appropriate grit for your specific nail treatment. Finer grits are suitable for gentle filing and buffing, while coarser grits are more effective for removing product or shaping enhancements. Consider the desired outcome and adjust the grit accordingly.
- Replace worn-out bands: Regularly inspect your sanding bands for signs of wear or damage. If a sanding band becomes ineffective or loses its abrasive properties, replace it promptly to maintain optimal performance and achieve desired results.
- Practice proper technique: When using the nail drill with a sanding band, apply gentle and controlled pressure. Avoid excessive heat and friction by periodically lifting the drill from the nail surface. This prevents overheating and ensures a smooth and comfortable experience for both the nail technician and the client.
Mastering the skill of changing sanding bands on a nail drill is a valuable asset for nail technicians and DIY enthusiasts alike. By following the step-by-step guide provided in this article, you can confidently change sanding bands, ensuring optimal performance during your nail care routines. Remember to choose the right grit, replace worn-out bands, and practice proper technique to achieve professional-quality results.
At IKS Beauty, we understand the importance of efficient and effective nail care techniques. As a renowned beauty factory specializing in nail products, we offer a wide range of high-quality sanding bands and nail drills that meet the needs of professionals and DIY enthusiasts. Our products are designed to deliver exceptional performance, durability, and precision, ensuring a seamless experience when changing sanding bands on your nail drill.
With IKS Beauty, you can elevate your nail care routine to new heights. Our sanding bands are crafted with the finest materials and available in various grit options to cater to your specific nail care requirements. Whether you’re shaping, filing, or buffing, our sanding bands provide optimal performance and deliver outstanding results.
When it comes to changing sanding bands on a nail drill, trust IKS Beauty to provide the tools and expertise you need. We are dedicated to empowering nail technicians and enthusiasts with innovative solutions and premium products. Discover the difference of IKS Beauty and take your nail care skills to the next level.
Change sanding bands with confidence and precision, and unlock the full potential of your nail drill with IKS Beauty. Explore our extensive range of nail products and experience the excellence of our brand. Achieve professional-quality nail care with IKS Beauty, your trusted partner in the world of beauty and nails.
Remember, when it comes to changing sanding bands on a nail drill, IKS Beauty is the name you can trust for exceptional quality and performance.


